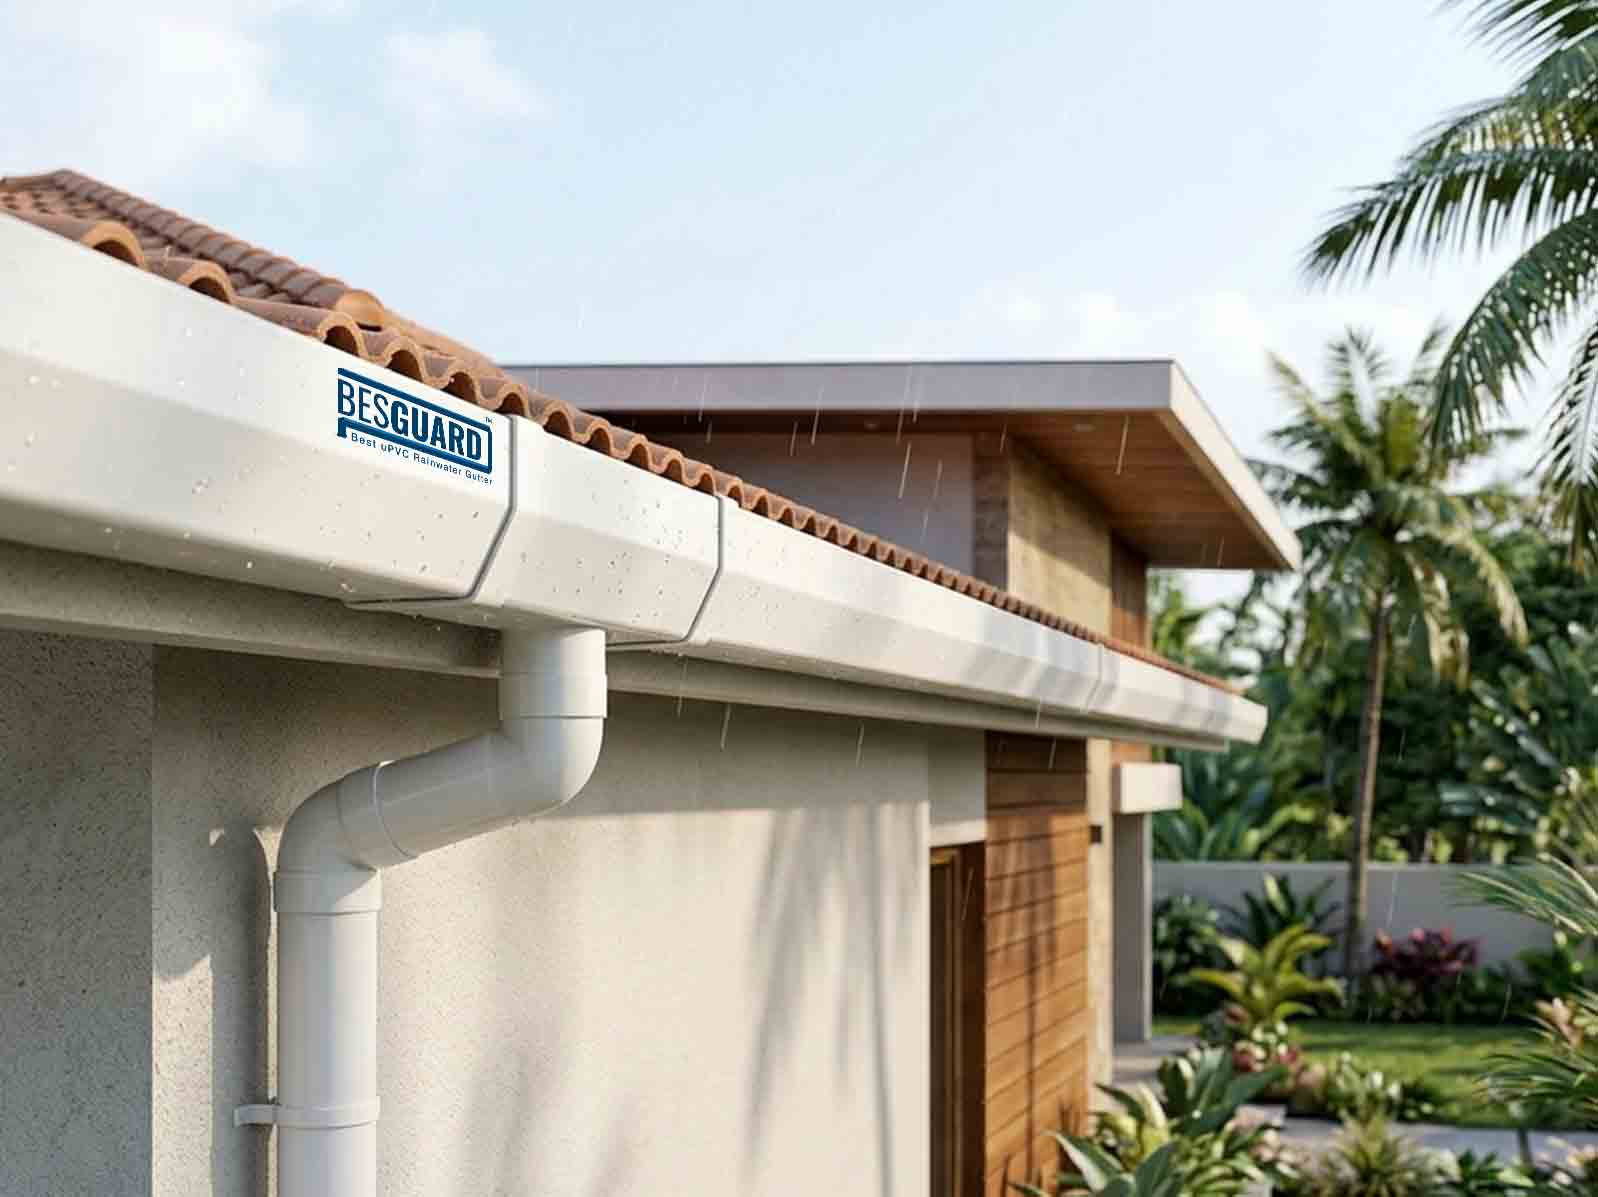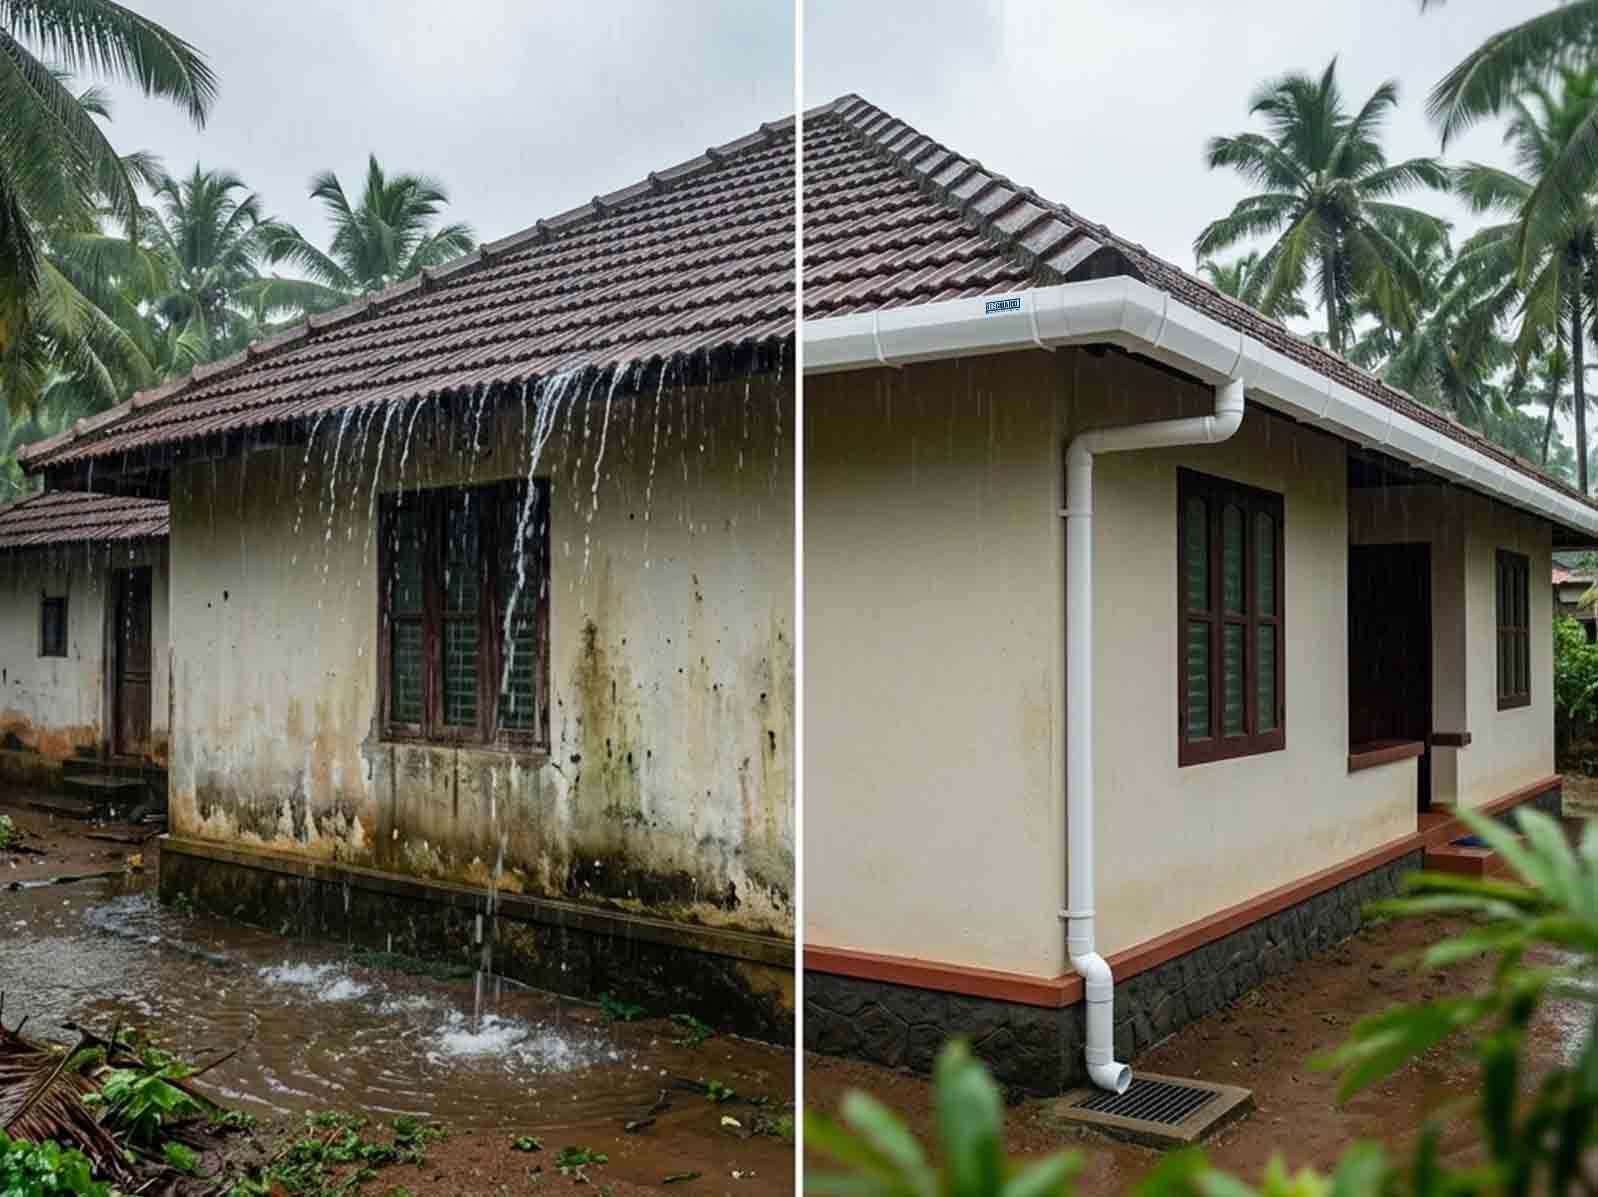

A properly installed rainwater gutter system is just as important as choosing the right gutter. Even a high-quality gutter can fail if it is installed incorrectly, leading to water overflow, damp walls, foundation damage, and costly repairs.
Whether you're building a new home or upgrading your existing drainage system, understanding the rainwater gutter installation process helps ensure long-lasting performance and efficient rainwater management.
This guide explains the complete Besguard Rainwater Gutter Installation Process and why professional installation is essential for homes across Kerala and India.
Rainwater gutters protect your home by collecting rainwater from the roof and directing it safely through downpipes into drainage or rainwater harvesting systems.
Incorrect installation can result in:
Professional installation ensures the gutter performs efficiently in all weather conditions, especially during India's heavy monsoon seasons.
Every installation begins with a detailed inspection of the building.
During this stage, professionals assess:
This information helps determine the correct gutter profile and downpipe placement.
Not every building requires the same gutter system.
The appropriate gutter size depends on:
Besguard offers:
Suitable for:
Recommended for:
Selecting the correct profile ensures efficient rainwater flow during heavy rainfall.
Once measurements are completed, installers mark the gutter alignment.
A slight slope is provided so rainwater naturally flows toward the downpipe.
Proper alignment prevents:
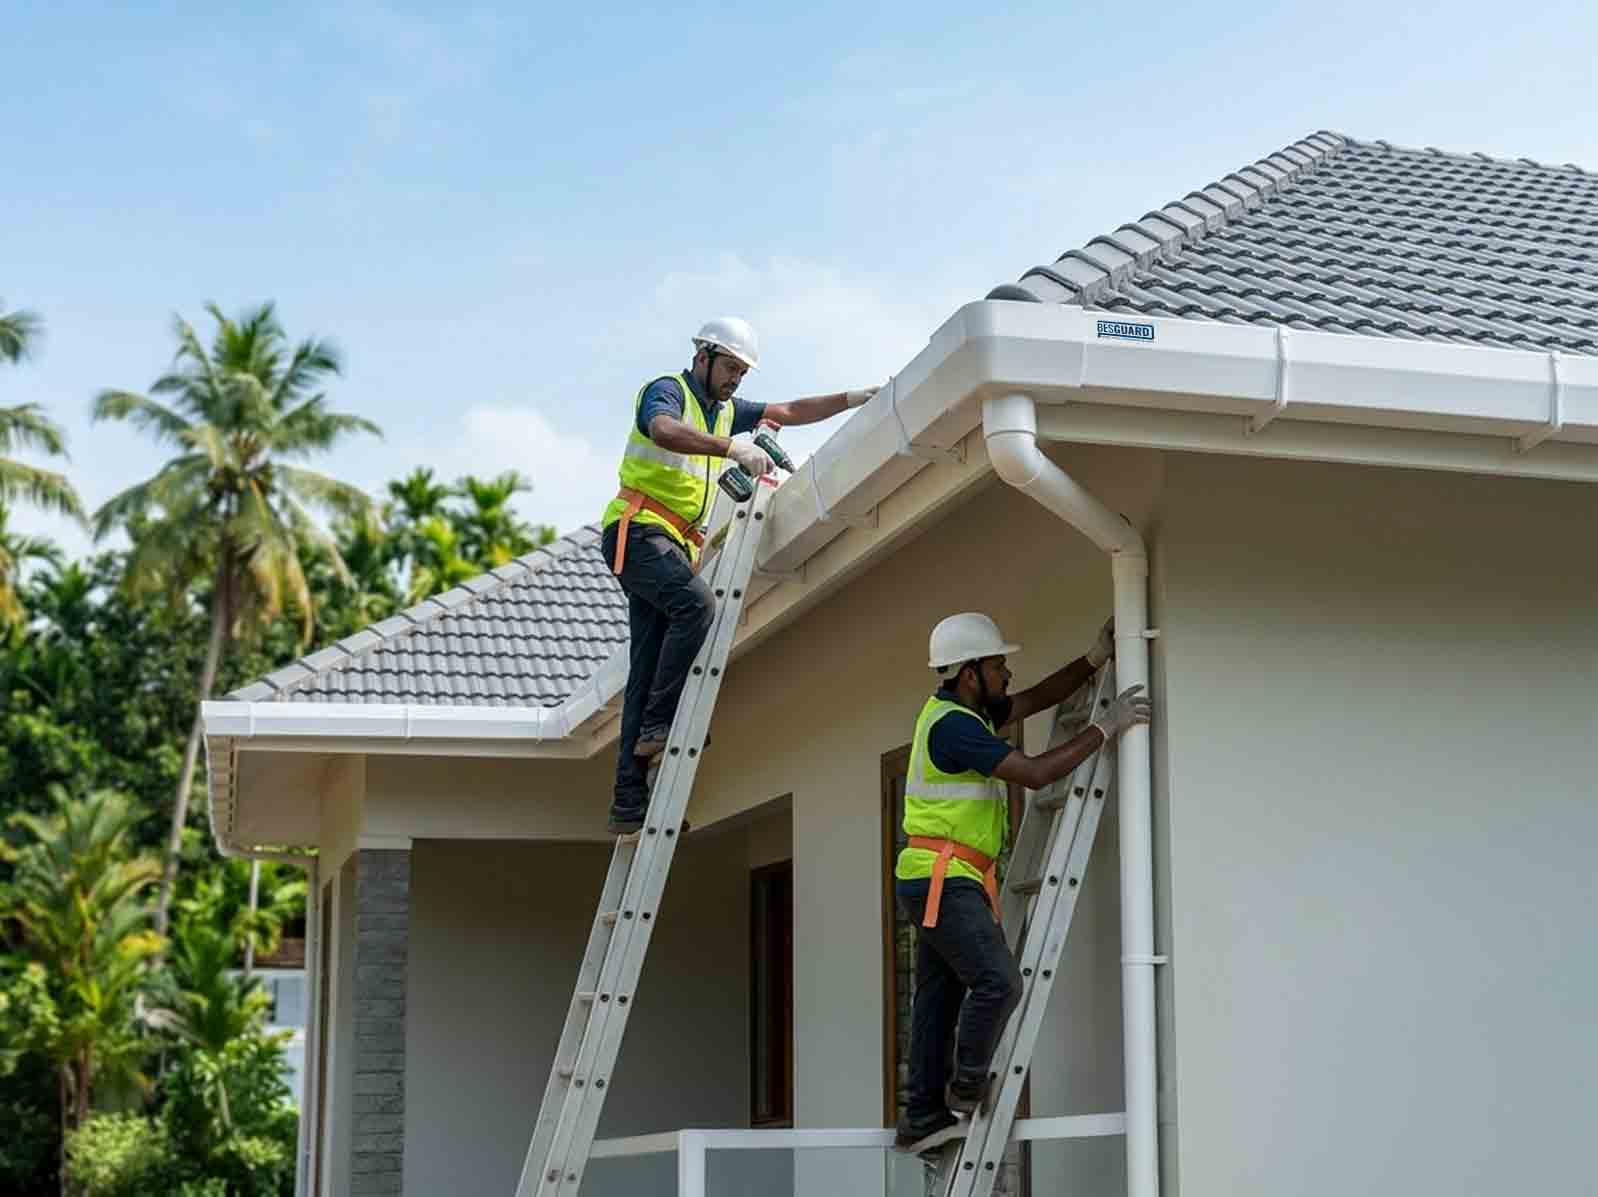
High-quality brackets are fixed securely along the roof edge.
Correct bracket spacing is essential because it:
Strong bracket installation is particularly important in areas experiencing heavy monsoon rainfall.
The gutter sections are carefully positioned onto the brackets.
Precision-engineered Besguard fittings ensure:
Every joint is checked before moving to the next section.
Running outlets (also known as centre drops) connect the gutter to the downpipes.
The downpipes are then installed to carry rainwater safely to:
Proper positioning ensures water is directed away from the building foundation.
Depending on the roof design, installers fit:
Each accessory contributes to a leak-free and durable drainage system.
Before completing the installation, the entire system is tested.
This confirms:
Testing ensures the system is ready for heavy rainfall.
The installation team performs a complete quality inspection.
They verify:
Only after passing inspection is the installation considered complete.
Besguard rainwater gutters are engineered specifically for India's demanding weather conditions.
Designed for homes, villas, apartments, commercial buildings, and industrial facilities, Besguard provides reliable rainwater management with minimal maintenance.
A professionally installed gutter system offers:
Professional installation also reduces the likelihood of costly repairs caused by incorrect gutter alignment or poor downpipe placement.
A rainwater gutter system performs only as well as it is installed. Proper planning, correct sizing, accurate bracket placement, and professional installation all contribute to effective rainwater management.
With the Besguard Rainwater Gutter Installation Process, homeowners receive a durable, high-performance system designed for India's heavy rainfall and changing climate.
Whether you're building a new home or upgrading an existing drainage system, Besguard offers the expertise, premium uPVC technology, and reliable installation support needed to protect your property for years to come.